本站精选了一篇springboot相关的编程文章,网友甘真一根据主题投稿了本篇教程内容,涉及到springboot入门搭建、springcloud、环境搭建、springboot入门搭建相关内容,已被432网友关注,涉猎到的知识点内容可以在下方电子书获得。
springboot入门搭建
安装JDK
https://www.oracle.com/java/technologies/javase/javase-jdk8-downloads.html
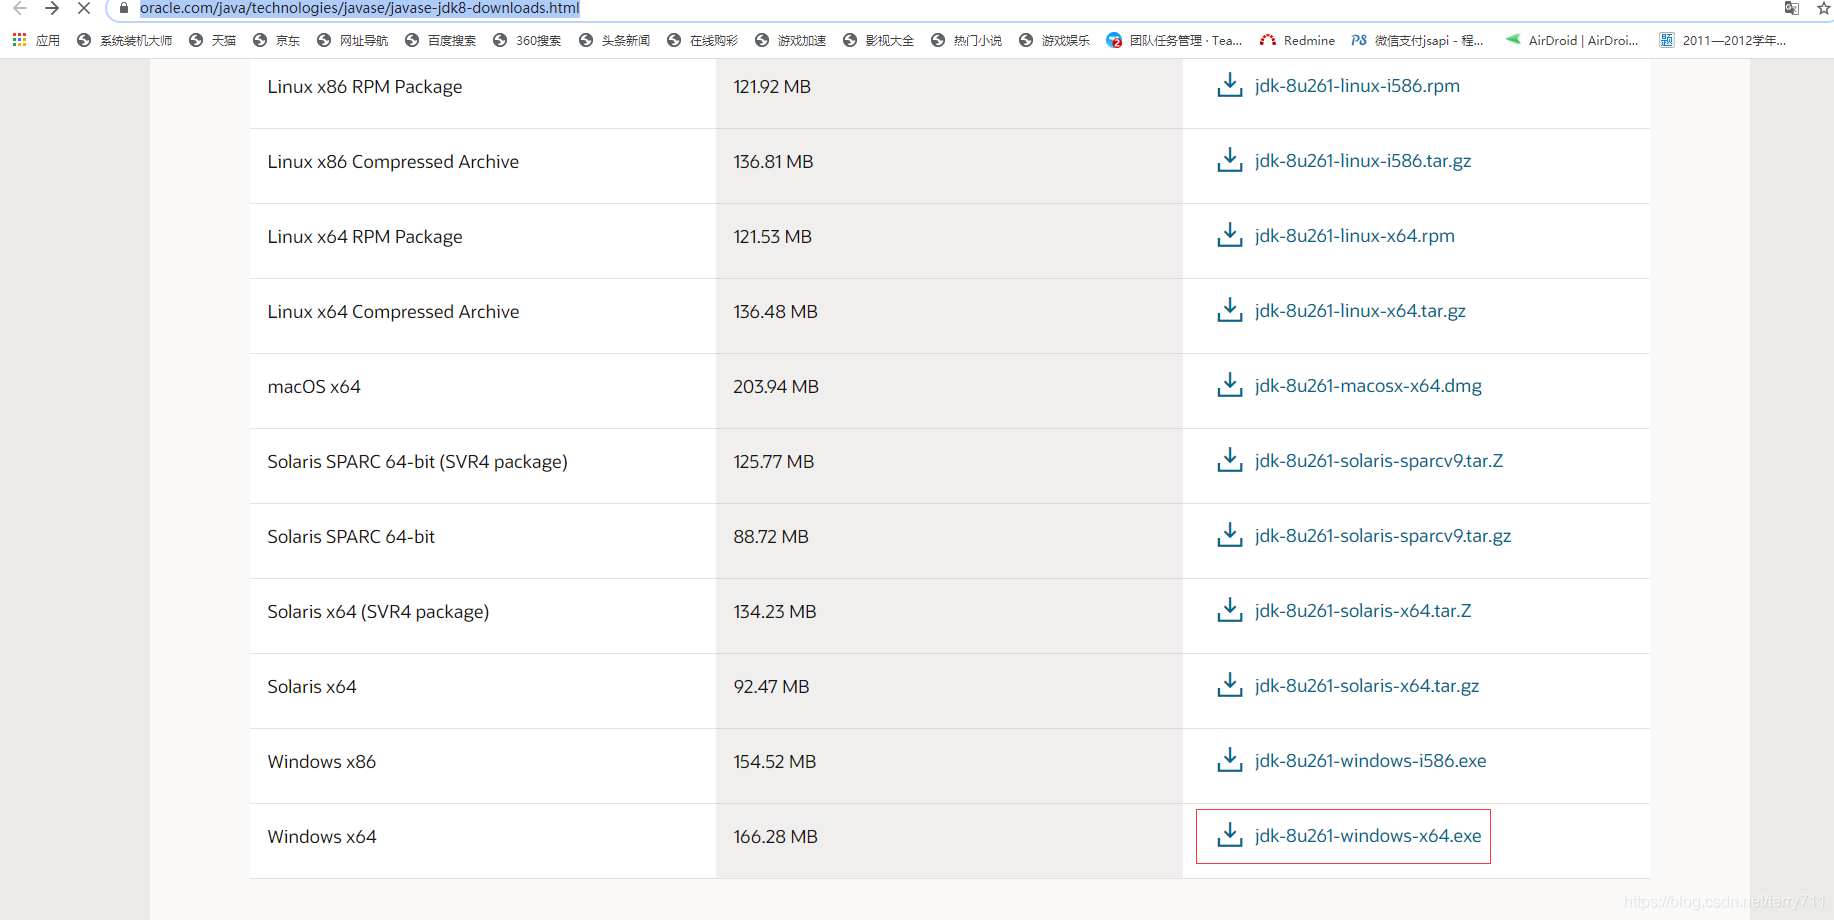
使用的是jdk8,这里使用的是windows10 64位的操作系统,所以下载对应的jdk版本
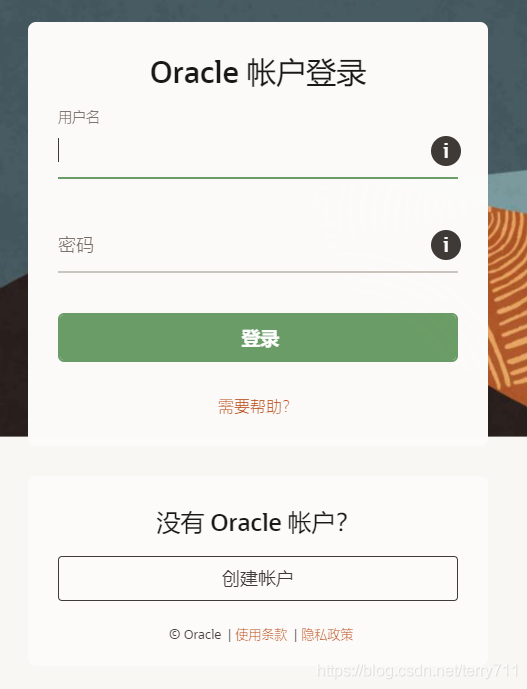
点击链接会要你登录,登录以后才可以下载。
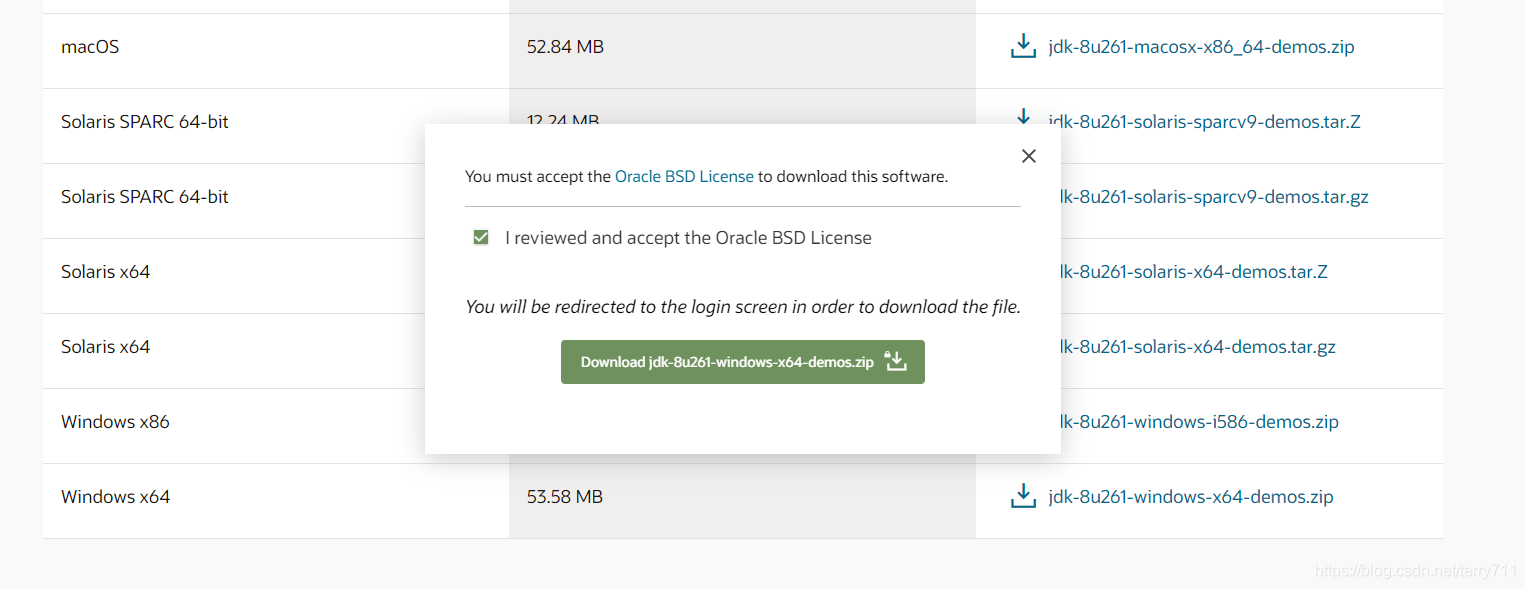
下载安装以后找到jdk的安装目录,我这里是C:\Program Files\Java\jdk1.8.0_211
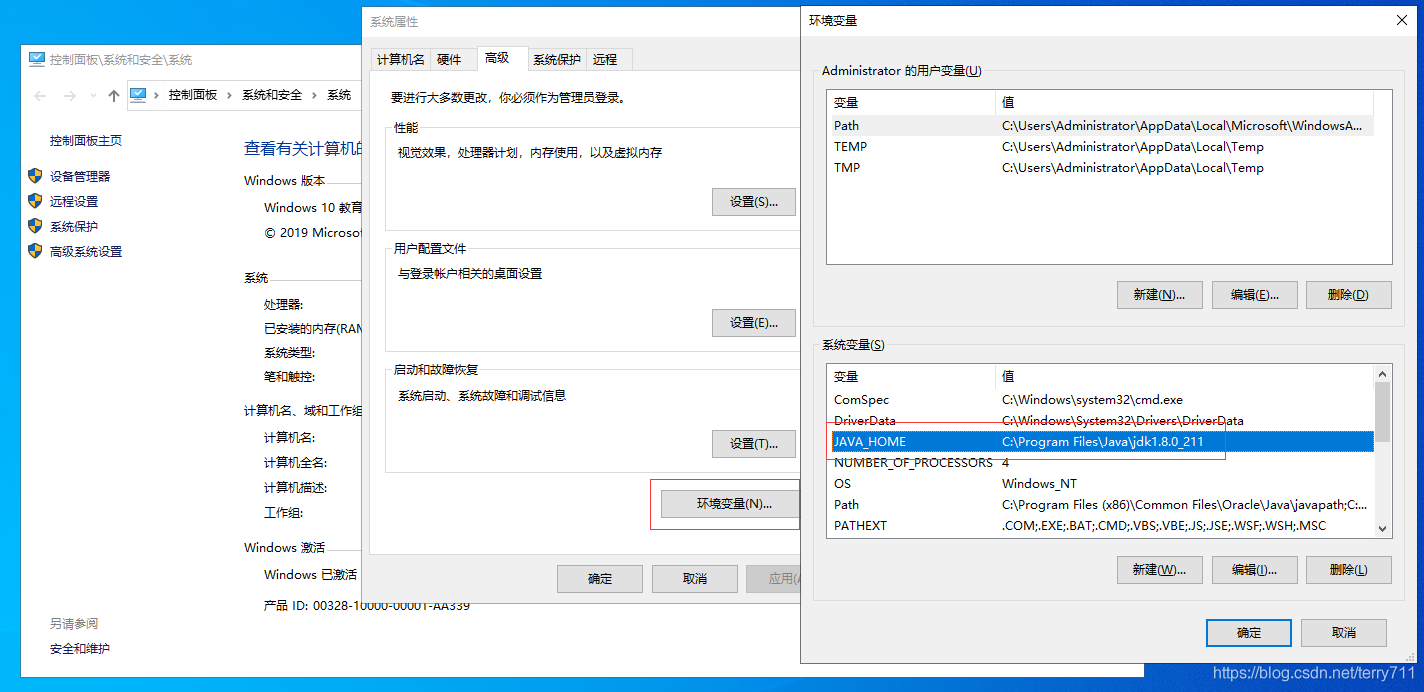
配置JAVA_HOME,值就是你安装jdk的地址C:\Program Files\Java\jdk1.8.0_211 千万不要加bin
这个时候还没有完成配置,还需要打开path环境变量在最后加

加到bin目录
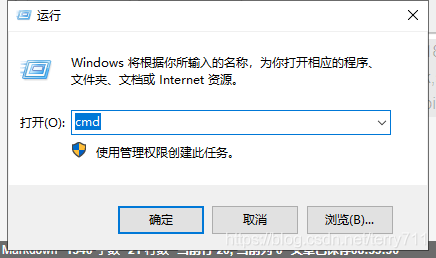
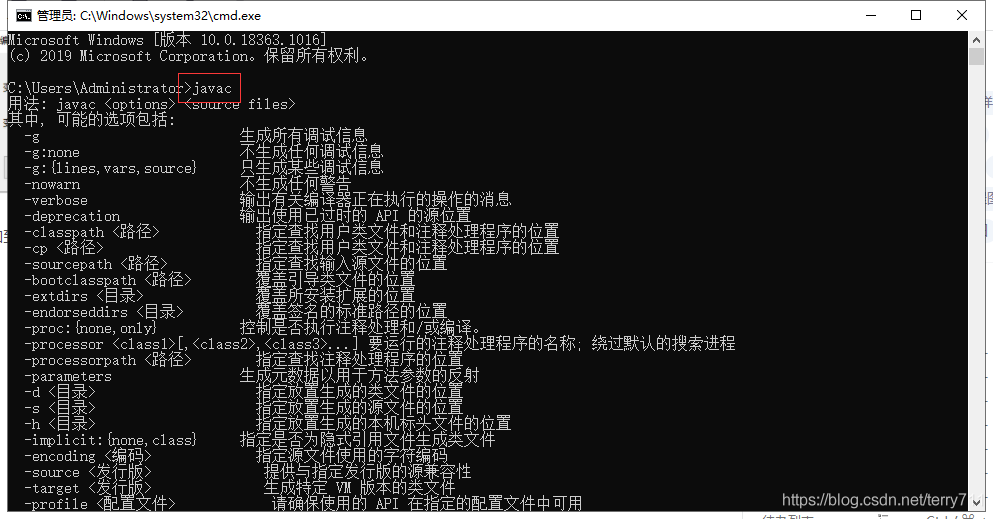
如果输入javac显示帮助信息证明配置成功了。
下面来下载springboot的IDE,建议新手不要去搞那些插件,直接装一个完整版本的,可以在下面的连接下载完整版。
https://spring.io/tools#main
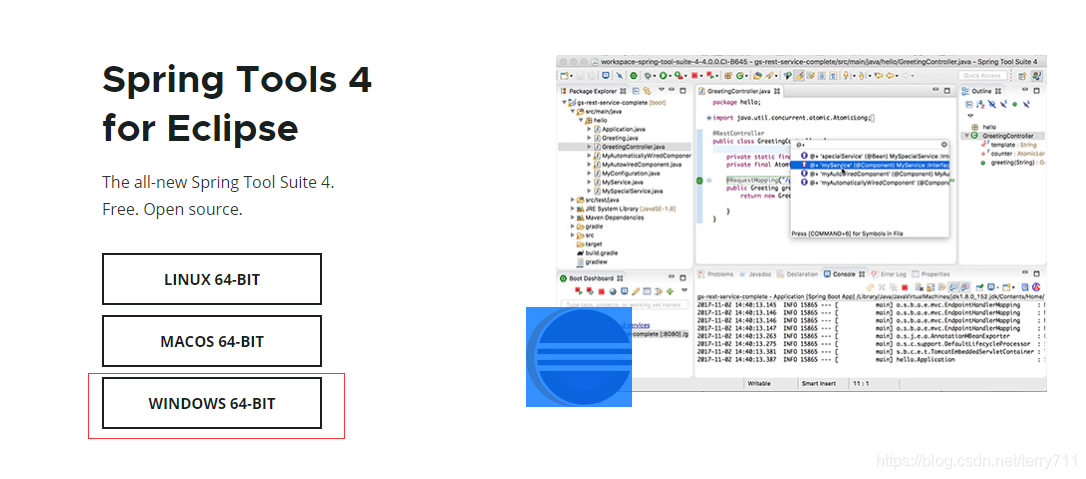
这种下下来的jar包可以直接用解压软件解开,里面有直接可以执行的exe执行文件,直接用就可以了。

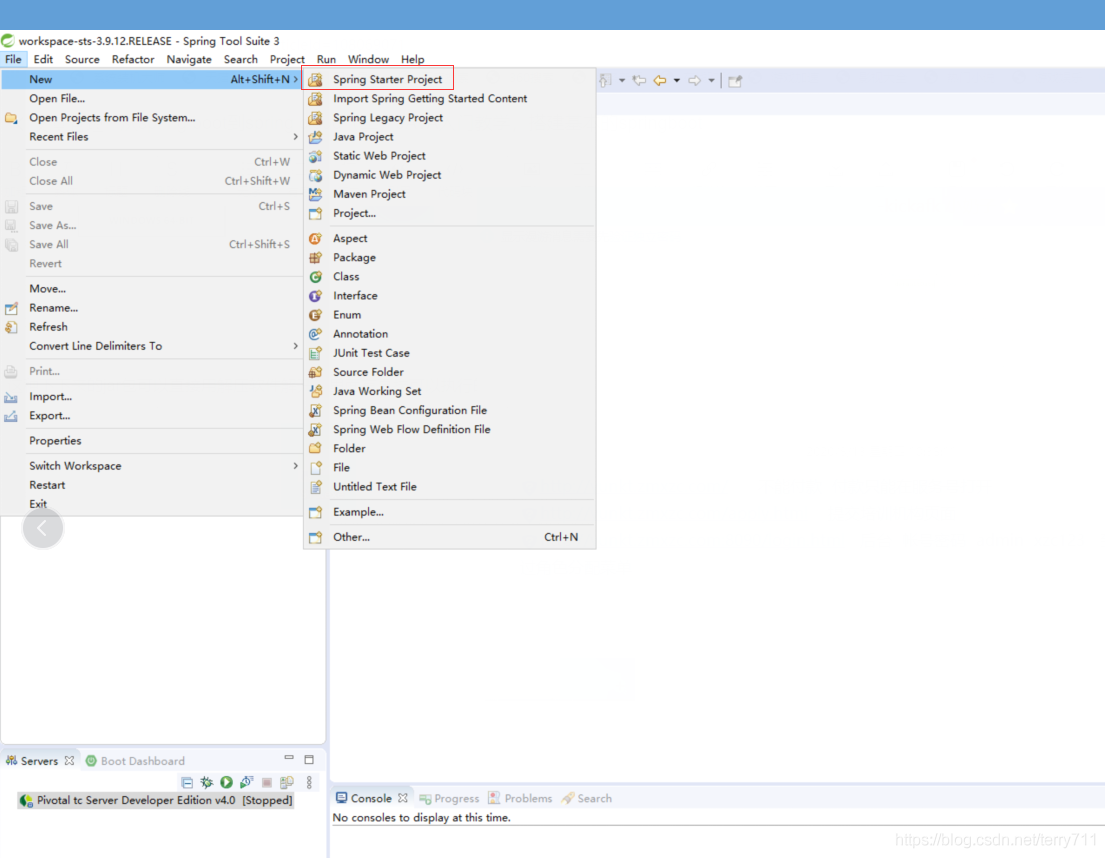

这里就勾选springweb 也就是springmvc
完成以后会发现下载包的速度会很慢
这时候就要自己修改maven了
http://maven.apache.org/download.cgi

修改 conf\settings.xml 设置成阿里的库,把下载源从国外转到国内
<mirrors>
  <mirror>
   <id>alimaven</id>
   <name>aliyun maven</name>
   <url>http://maven.aliyun.com/nexus/content/groups/public/</url>
   <mirrorOf>central</mirrorOf>
  </mirror>
	</mirrors>
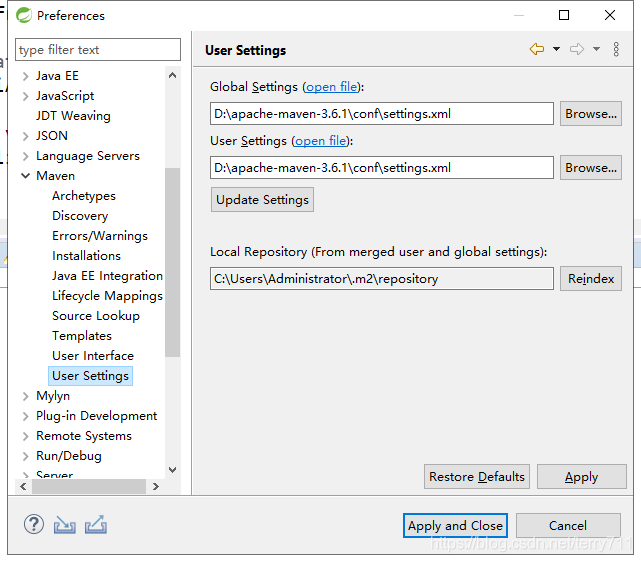
修改maven配置地址。重启IDE就可以了。
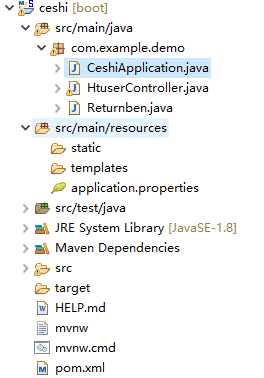
package com.example.demo;

import org.springframework.boot.SpringApplication;
import org.springframework.boot.autoconfigure.SpringBootApplication;
import org.springframework.context.annotation.ComponentScan;

@ComponentScan(basePackages={"com.example.demo"})//spring服务扫描目录。可以用*替换com.example.*
@SpringBootApplication
public class CeshiApplication {

	public static void main(String[] args) {
		SpringApplication.run(CeshiApplication.class, args);
	}

}
package com.example.demo;

import java.io.FileWriter;

import java.io.IOException;
import java.util.Date;
import java.util.HashMap;
import java.util.Map;
import java.util.UUID;

import javax.servlet.http.HttpServletRequest;
import javax.servlet.http.HttpSession;

import org.springframework.beans.factory.annotation.Autowired;
import org.springframework.stereotype.Controller;
import org.springframework.util.ResourceUtils;
import org.springframework.web.bind.annotation.GetMapping;
import org.springframework.web.bind.annotation.PathVariable;
import org.springframework.web.bind.annotation.RequestBody;
import org.springframework.web.bind.annotation.RequestMapping;
import org.springframework.web.bind.annotation.ResponseBody;
import org.springframework.web.bind.annotation.RestController;

@RestController
@RequestMapping("/user")
public class HtuserController {

	@RequestMapping("/hi")
	@ResponseBody
	public Returnben getsession(HttpServletRequest request, HttpSession session) {
		Returnben returnben = new Returnben();
		returnben.setMsg("成功");
		returnben.setSuccess("1");
		return returnben;
	}

}
package com.example.demo;

public class Returnben {
	private String success = "0";

	public String getSuccess() {
		return success;
	}

	public void setSuccess(String success) {
		this.success = success;
	}

	public String getMsg() {
		return msg;
	}

	public void setMsg(String msg) {
		this.msg = msg;
	}

	public Object getObj() {
		return obj;
	}

	public Object getData() {
		return data;
	}

	public void setData(Object data) {
		this.data = data;
	}

	public void setObj(Object obj) {
		this.obj = obj;
	}

	private String msg = "";
	private Object obj = null;
	private Object data = null;
	private Long count;
	private int code;

	public int getCode() {
		return code;
	}

	public void setCode(int code) {
		this.code = code;
	}

	public Long getCount() {
		return count;
	}

	public void setCount(Long count) {
		this.count = count;
	}
}
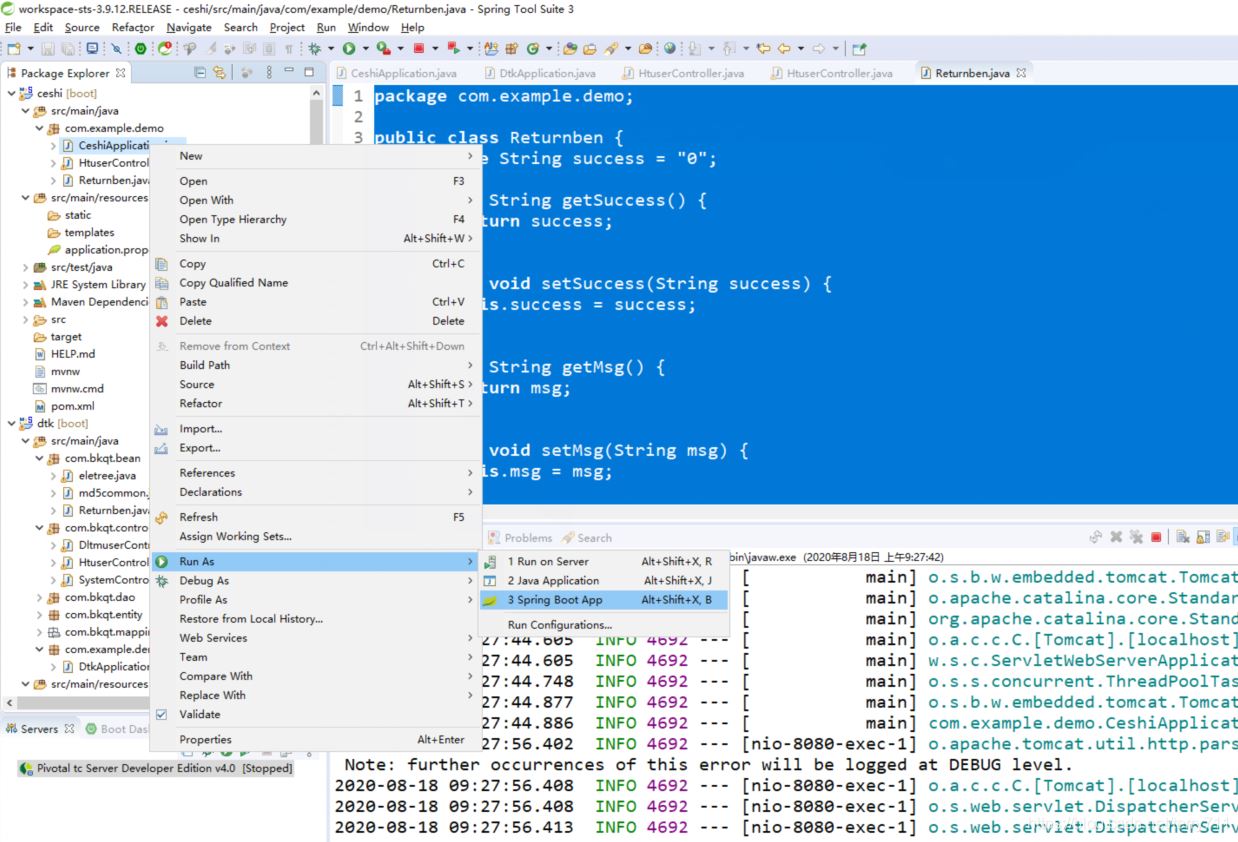
没配置端口的话就是8080端口

基本的springboot就完成了,后续再说集成各个框架和cloud其他组件
到此这篇关于JAVA入门教学之快速搭建基本的springboot(从spring boot到spring cloud)的文章就介绍到这了,更多相关springboot入门搭建内容请搜索码农之家以前的文章或继续浏览下面的相关文章希望大家以后多多支持码农之家!


